


close
Choose Your Site
Global
Social Media
Views: 257 Author: Gill Transmission Parts Publish Time: 2026-11-04 Origin: Site


Content Menu
● Identify Your Boat's Shaft Sealing System First
● How a Marine Stuffing Box Works
● How Much Should Shaft Packing Drip?
>> Stationary Leakage Versus Running Leakage
>> Temperature Matters Alongside Drip Rate
● Prepare Safely Before Adjusting Shaft Packing
● How to Adjust Shaft Packing on a Boat: Step by Step
>> Step 1: Establish a Baseline
>> Step 2: Release the Locknut Without Twisting the Assembly
>> Step 3: Make a Small Packing Adjustment
>> Step 4: Secure the Adjustment
>> Step 5: Run and Observe Without Reaching In
>> Step 6: Verify Under Normal Operating Conditions
● Troubleshooting Boat Shaft Packing Problems
● A Shaft Manufacturer's Perspective: Look Beyond the Packing
>> Inspect the Sealing Surface
>> Check Bearing Support and Alignment
● Create a Simple Adjustment Log
● When Adjustment Should Become Repacking
● Get Support for Recurring Propeller Shaft Problems
>> Can I Adjust Shaft Packing While the Boat Is in the Water?
>> Should a Boat Stuffing Box Drip When the Engine Is Off?
>> How Tight Should a Shaft Packing Nut Be?
>> Why Is My Stuffing Box Still Leaking After Tightening?
>> Can Synthetic Packing Run Completely Dry?
>> How Often Should I Check Shaft Packing?
Learning how to adjust shaft packing on a boat starts with understanding one important principle: a traditional stuffing box usually needs controlled leakage to lubricate and cool the rotating propeller shaft. The goal is not simply to stop every drop. It is to balance water ingress, operating temperature, and shaft protection.
The basic procedure is to stop the engine, release the locking arrangement, adjust packing compression slightly, secure the adjustment, and test again with the shaft turning. Never make adjustments beside a rotating shaft.
At Ningbo Gill Transmission Parts Co., LTD., our 29 years in marine-component development, manufacturing, and sales shape a shaft-focused perspective: a leaking gland is not always just a packing problem. Shaft condition, alignment, and bearing support also deserve attention.
This guide explains conventional adjustable packing glands. Your equipment manufacturer's instructions take priority.
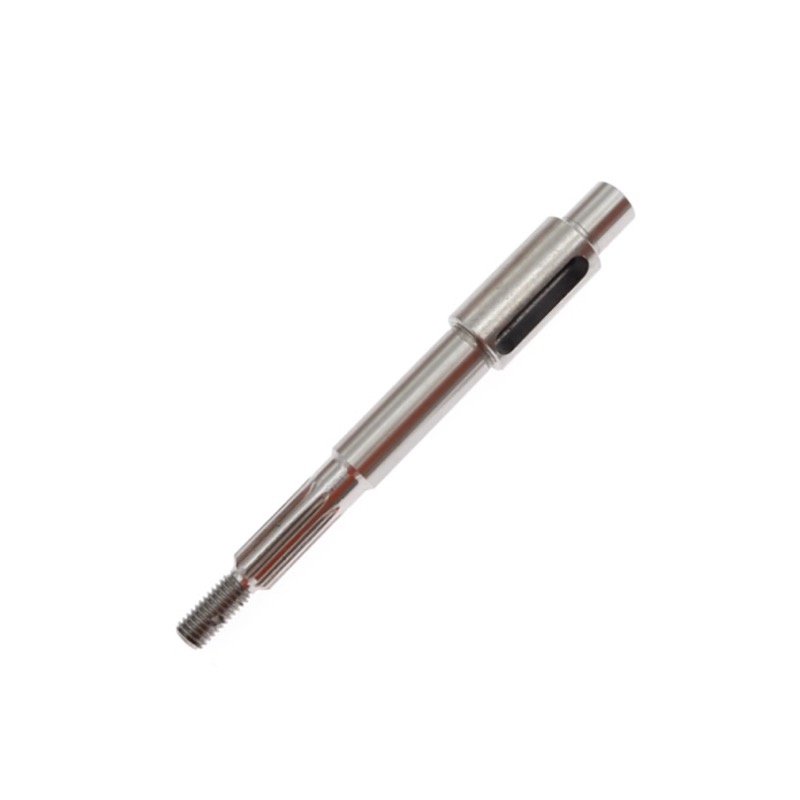
Before picking up a wrench, confirm which seal you have.
| Sealing system | Typical identifying features | Appropriate maintenance |
|---|---|---|
| Traditional stuffing box | Packing nut and locknut around the shaft | Adjust compression and replace worn packing |
| Stud-and-follower packing gland | Follower compressed by nuts on studs | Adjust evenly according to its instructions |
| Mechanical face seal | Bellows, stationary face, and shaft-mounted rotor | Follow model-specific inspection and service procedures |
| Lip-type shaft seal | Molded housing or sleeve containing sealing lips | Follow specified lubrication and replacement procedures |
Mechanical face seals and lip seals do not use the conventional packing-nut adjustment described below. Tightening their clamps or moving a rotor without the correct procedure can create a serious leak.
If identification is uncertain, stop and obtain the seal's manual or professional assistance.
A conventional stuffing box contains rings of braided packing surrounding the propeller shaft. Tightening the adjustment nut compresses those rings, reducing the path through which water can enter.
However, greater compression also increases friction.
Traditional packing relies on a small amount of water passing through the sealing interface. Excessive tightening can restrict lubrication, generate heat, and damage the packing or shaft.
This explains why a successful boat stuffing box adjustment requires two observations:
- How much water passes through while the shaft turns.
- Whether the gland temperature stabilizes during operation.
A low drip rate is not automatically a good result if the gland becomes progressively hotter.
There is no universal drip rate for every boat, packing material, and operating condition.
Published guidance illustrates the variation. One traditional-packing guide recommends approximately two to three drops per minute with the shaft turning; other boating guidance gives different figures.
Use the specified running leakage for your particular gland and packing. Treat general figures as orientation, not a substitute for product instructions.
A conventional gland may leak very little, or not visibly drip, when stationary. Its behavior can change once the shaft rotates and the packing warms.
Do not tighten it repeatedly just to eliminate an occasional stationary drip without checking the running condition.
Record leakage under comparable operating conditions. A reading at idle cannot necessarily be compared directly with one taken during normal cruising.
Check temperature using the manufacturer's limits where available.
A noncontact thermometer can help reveal trends, but reflective metal may produce misleading readings. Measure consistently at the same suitable location and avoid treating a single reading as definitive.
Do not reach toward rotating machinery to feel whether the gland is hot.
Safety comes before leak reduction. This component sits at a hull penetration, often close to exposed rotating machinery.
Prepare the following:
- Two correctly sized gland wrenches.
- Good lighting and clear access.
- A timer for counting drips.
- A suitable temperature-measuring instrument.
- A notebook or maintenance log.
- The gland and packing instructions.
Before starting:
1. Secure the boat and ensure testing can be conducted safely.
2. Stop the engine and prevent accidental starting.
3. Confirm that the shaft cannot rotate unexpectedly.
4. Remove loose clothing, jewelry, and unsecured items.
5. Verify that bilge pumping and high-water alarms work.
6. Inspect the hose, clamps, and surrounding fittings.
If water is entering rapidly, the hose is damaged, or the assembly moves when touched, treat the situation as a repair problem rather than a routine adjustment.
Never remove the packing nut or extract packing afloat as part of this adjustment procedure. Repacking can admit substantial water and is best planned ashore, particularly for inexperienced owners.
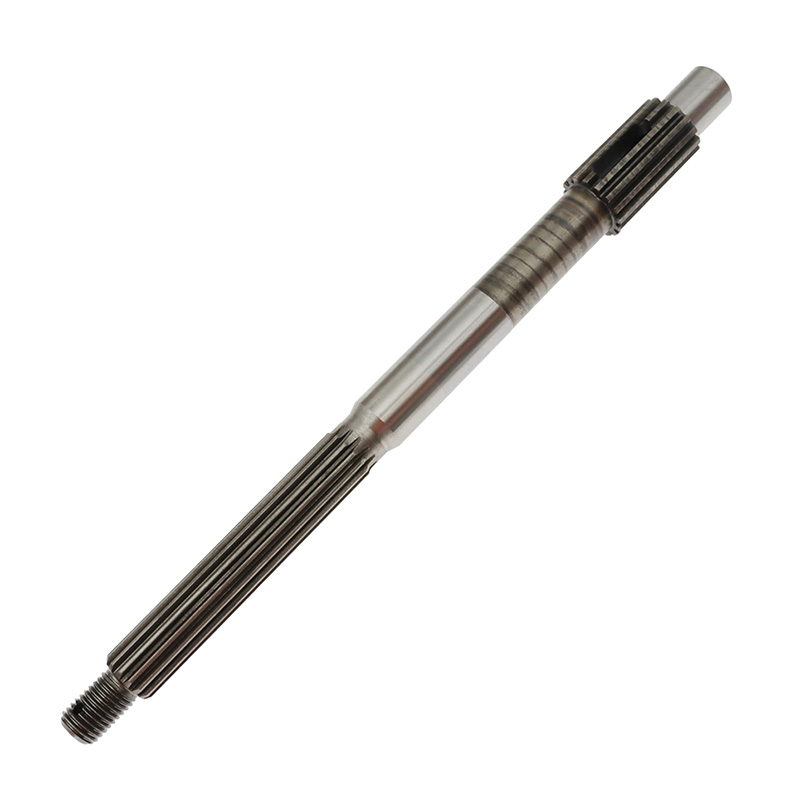
With the engine stopped, dry the surrounding area enough to locate the leak.
Confirm whether water comes through the packing interface or from a hose connection, damaged fitting, or another nearby component.
If operating conditions permit, conduct a controlled preliminary running observation from a safe position. Record:
- Shaft operating condition.
- Drips counted over a measured interval.
- Gland temperature trend.
- Unusual vibration or noise.
Stop and isolate the machinery before making any adjustment.
For a conventional threaded gland, use one wrench to hold the packing nut and another to release the locknut.
Do not transmit twisting force into the flexible hose or stern-tube connection.
If corrosion prevents movement, stop rather than applying uncontrolled force. A seized gland may require professional servicing.
Stud-and-follower designs need their own procedure; unequal tightening can leave the follower cocked.
If excessive leakage genuinely comes through the packing, increase compression by a small amount.
For a typical threaded gland, a movement around one flat of a hexagonal nut—or less—can be a cautious starting increment, provided the manufacturer's instructions allow it.
This is not a universal setting. Thread pitch and gland geometry affect the compression produced.
Avoid making several large turns at once. If the nut is already near its travel limit, further tightening is unlikely to be the correct solution.
Hold the packing nut in position while tightening the locknut against it.
Check that locking has not rotated the adjusting nut or twisted the assembly. Remove all tools before restarting.
Do not leave the locking arrangement loose during a running test.
Restore the installation to a safe operating condition and test with the shaft turning.
At a berth, in-gear testing requires suitable mooring arrangements, propeller clearance, and competent control at the helm. If those conditions cannot be assured, use professional assistance.
Observe leakage and temperature from outside the rotating machinery's danger zone.
If leakage remains excessive, stop, isolate, and repeat the small-adjustment process. Never put a wrench on the gland while the shaft turns.
A brief idle test is not enough to establish cruising performance.
After the initial check, monitor the gland during a controlled trial at representative operating conditions. Recheck after approximately 20–30 minutes, or according to the manufacturer's procedure.
Look for stable temperature and the specified leakage.
If temperature rises rapidly, unusual noise develops, or leakage becomes uncontrolled, stop operation and investigate. Make any corrective adjustment only after shutdown and isolation.
| Observation | Possible explanation | Recommended response |
|---|---|---|
| Leakage decreases after a small adjustment | Packing needed additional compression | Secure and verify during operation |
| Leakage persists despite repeated tightening | Worn packing, shaft damage, or another defect | Stop tightening and inspect |
| Gland gets hotter after adjustment | Excessive compression or inadequate lubrication | Shut down and reassess |
| Water comes from a hose connection | Hose, clamp, or fitting problem | Repair the connection rather than tightening packing |
| Leakage changes with vibration | Possible alignment, shaft, or bearing issue | Arrange driveline inspection |
| Adjustment nut reaches its travel limit | Packing may be exhausted or incorrectly installed | Plan inspection and repacking |
These observations guide diagnosis; they do not establish a fault conclusively.
From our manufacturing perspective, the most useful question is not simply, "Can the nut go tighter?" It is, "Can the packing seal against this shaft reliably?"
Packing needs an appropriate shaft surface. Grooves, corrosion pits, or scoring at the contact area can prevent satisfactory sealing.
New packing cannot restore missing shaft material. Excessive compression may only increase friction while leaving the underlying leak unresolved.
During planned maintenance, have the sealing area inspected and measured where necessary. Do not improvise aggressive sanding or machining without checking shaft tolerances and repair requirements.
A worn shaft bearing can allow movement that makes consistent sealing difficult. Misalignment also deserves investigation when leakage accompanies vibration or recurring packing problems.
The packing gland is not a substitute for proper shaft support.
When repeated adjustments produce only temporary improvement, inspect the driveline rather than treating the gland as an isolated component.
A maintenance log adds useful diagnostic value without specialized equipment.
| Record | Why it helps |
|---|---|
| Date and engine hours | Shows how quickly conditions change |
| Packing material and installation date | Identifies relevant maintenance history |
| Operating condition | Makes comparisons more meaningful |
| Observed drip rate | Tracks leakage changes |
| Temperature trend | Helps identify increasing friction |
| Adjustment made | Prevents repeated, undocumented tightening |
| Vibration or unusual noise | Flags a possible wider driveline problem |
For example, recurring leakage combined with increasing vibration should prompt investigation, not an assumption that packing compression is the only issue.
This is a diagnostic example, not a reported customer case.
Plan packing replacement when appropriate adjustment no longer produces acceptable leakage and temperature.
Other warning signs include:
- Little adjustment travel remaining.
- Hardened, burnt, or deteriorated packing.
- Recurring overheating.
- Uncertain packing size or installation history.
- Shaft damage discovered during inspection.
Select packing by the gland's actual geometry and approved material requirements—not shaft diameter alone.
Where the manufacturer uses the conventional radial-clearance method, nominal packing cross-section is half the difference between the packing chamber bore and shaft diameter. Confirm the chamber being measured and the specified ring count before ordering.
Install separate rings and stagger their joints according to the product instructions. Remove old packing fully rather than concealing it beneath additional rings.
Ningbo Gill Transmission Parts Co., LTD. brings 29 years of professional experience in developing, manufacturing, and selling propeller shafts and other marine components.
If leakage returns after correct adjustment or repacking, contact our team to discuss your shaft requirements. Provide the shaft drawing or dimensions, material details where known, photographs of the sealing area, operating conditions, and maintenance history.
For active flooding, overheating, or damaged sealing hardware, contact a qualified local marine technician first. Product selection cannot replace an onboard safety assessment.
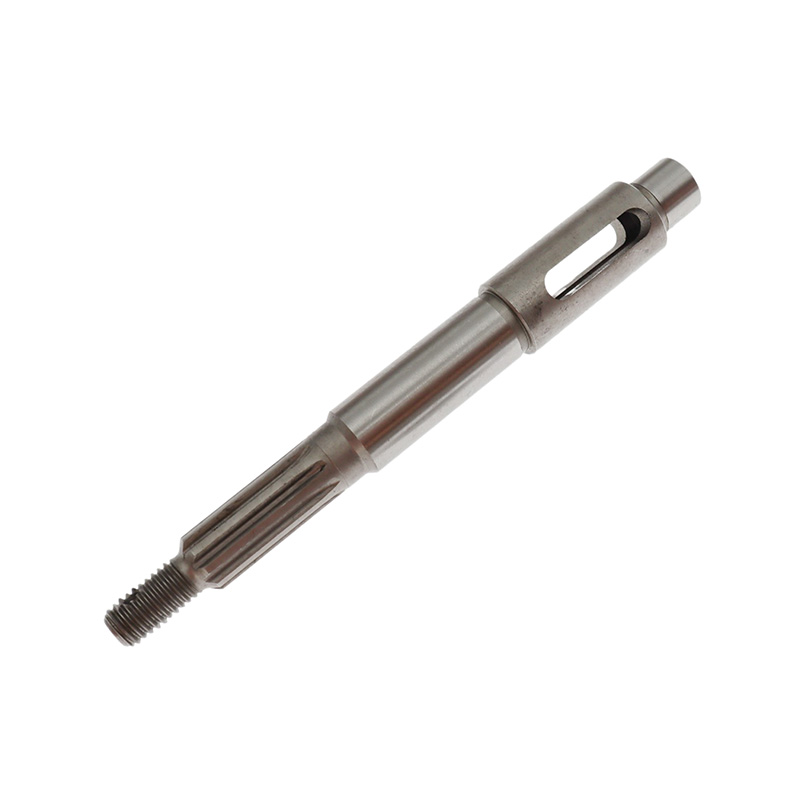
Routine external adjustment is commonly performed afloat when the installation is sound and access is safe. Do not confuse adjustment with removing the nut or extracting packing. Arrange professional help if the assembly's condition is uncertain.
It may show little or no visible leakage when stationary. Some installations drip slightly. Evaluate both stationary and running behavior against the manufacturer's requirements instead of tightening solely to achieve a dry bilge.
Tight enough to meet the specified leakage requirement without excessive friction or heating. There is no universal torque or number of turns for all glands. Adjust incrementally and verify under operating conditions.
Possible causes include worn packing, incorrect packing size, shaft grooves, bearing wear, or leakage from another connection. Repeated tightening without improvement is a reason to inspect, not apply greater force.
Do not assume so. Different synthetic materials and proprietary systems have different lubrication requirements. Follow the exact packing and gland instructions; "low friction" does not automatically mean suitable for dry operation.
Inspect according to the vessel and equipment maintenance schedules. Recheck after adjustments, repacking, relaunching, and initial trials. Investigate changes in bilge water, vibration, or operating temperature promptly.
1. [West Marine — "Stuffing Boxes, Shaft Seals and Shaft Bearings," Brian Gordon, updated June 30, 2026]. Supports conventional gland operation, controlled leakage, adjustment checks, packing replacement, and shaft-bearing diagnosis. [westmarine]
2. [West Marine — "Preventative Boat Maintenance Guide for New Boaters"]. Supports small-increment adjustment and illustrates variation in general running drip-rate guidance. [westmarine]
3. [Practical Boat Owner — "Dripless Shaft Seals: PBO Buyer's Guide," Ben Meakins, November 20, 2014]. Supports distinctions between packing glands, face seals, and lip seals, plus shaft-condition and sizing considerations. [pbo.co]
4. [W. L. Gore & Associates — "GORE GFO Packing Fiber"]. Supports material-specific packing properties and the importance of correct packing dimensions; industrial performance figures are not treated as boat-adjustment limits. [gore]


