


close
Choose Your Site
Global
Social Media
Views: 219 Author: Gill Transmission Parts Publish Time: 2026-10-30 Origin: Site


Content Menu
● What Does Repacking a Boat Drive Shaft Actually Mean?
>> Confirm Your Shaft Seal Before Starting
● When Should You Replace Boat Shaft Packing?
● Prepare Safely Before Repacking the Stuffing Box
>> Schedule the Work With the Boat Hauled Out
● How to Choose the Correct Boat Shaft Packing Size
>> Verify Dimensions Rather Than Copying Worn Packing
>> Select Packing for Compatibility, Not Advertising Claims
● How to Repack a Boat Drive Shaft Step by Step
>> Step 1: Release the Locknut
>> Step 2: Open the Packing Nut
>> Step 3: Remove All Old Packing
>> Step 4: Inspect the Shaft's Sealing Track
>> Step 5: Cut Individual Packing Rings
>> Step 6: Seat Rings Individually and Stagger the Joints
>> Step 7: Reassemble Without Heavy Compression
>> Step 8: Relaunch, Test, and Secure the Adjustment
● How Tight Should a Boat Stuffing Box Be?
● Three Checks That Make Repacking More Reliable
>> 1. Record a Baseline After Installation
>> 2. Diagnose Shaft Movement Before Repacking Again
>> 3. Check Temperature Beyond the First Few Minutes
● Common Boat Shaft Repacking Problems
● When Shaft Inspection Should Lead to a Replacement Discussion
>> Can I Repack a Boat Drive Shaft Without Removing It?
>> Can I Repack the Stuffing Box While Afloat?
>> Should New Shaft Packing Drip?
>> How Many Packing Rings Do I Need?
>> Why Does My Stuffing Box Still Leak After Repacking?
>> How Often Should Boat Shaft Packing Be Replaced?
Learning how to repack a boat drive shaft starts with identifying the seal around it. On a conventional inboard shaft installation, you replace the packing inside the stuffing box—not the shaft itself. The job involves removing old packing, inspecting the shaft, installing correctly sized rings, and adjusting the gland to control leakage without overheating.
The most important principle is balance: a traditional stuffing box needs controlled water flow for lubrication and cooling. Tightening it until the bilge stays completely dry while the shaft turns can damage an otherwise serviceable shaft.
At Ningbo Gill Transmission Parts Co., LTD., our focus on marine transmission components shapes the way we approach this subject: assess the shaft and sealing arrangement together. With 29 years of experience in marine component research, production, and sales, we encourage buyers and maintenance teams to look beyond the packing when leakage returns.
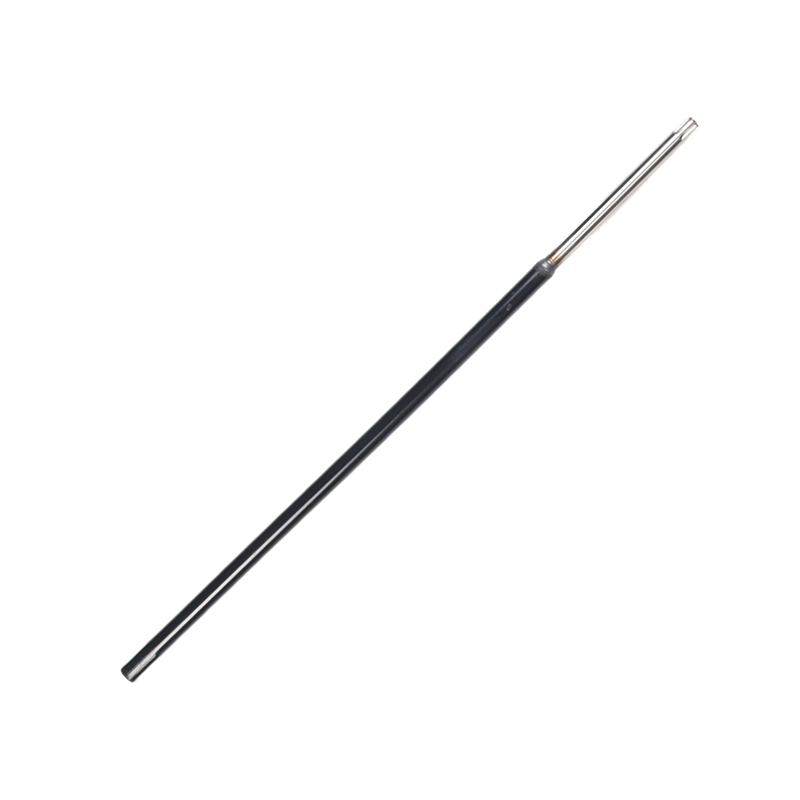
"Boat drive shaft repacking" usually describes replacing braided sealing rings inside a traditional propeller shaft stuffing box.
The packing nut compresses these rings around the rotating shaft. Over time, the material wears, hardens, or deteriorates. Adjustment may initially control leakage, but eventually the old material needs replacement.
| Shaft sealing arrangement | Does this guide apply? | Appropriate maintenance |
|---|---|---|
| Traditional threaded stuffing box | Yes | Replace packing and adjust the gland |
| Flanged packing gland | Partly | Follow its specific follower and fastening instructions |
| Packless mechanical face seal | No | Follow the seal manufacturer's service procedure |
| Unidentified seal assembly | Not yet | Identify the assembly before disassembly |
A packless face seal does not contain conventional stuffing box packing. Do not dismantle one using a braided-packing procedure. This guide specifically concerns traditional inboard propeller shaft glands.
Inspect the assembly rather than treating every drip as a failure. Traditional packing is intended to permit some leakage while the shaft turns.
Replacement becomes appropriate when:
- Leakage remains excessive despite careful adjustment.
- The nut has little adjustment travel remaining.
- Extracted packing is brittle, blackened, or fragmented.
- The maintenance history is unknown and inspection reveals deterioration.
- Repeated adjustments fail to produce stable operation.
However, new packing cannot correct every leak. Shaft grooves, pitting, excessive bearing clearance, and shaft movement can prevent an effective seal. Investigate these conditions before applying more compression.
For a first-time repair, plan to repack the stuffing box ashore. Removing packing while afloat opens a potential water-entry path around the shaft. Marine How To specifically recommends out-of-water work for inexperienced owners.
Do not assume there is a valve that can isolate this opening. Confirm the actual installation with a qualified marine technician.
Before disassembly:
1. Secure the vessel and prevent accidental engine starting.
2. Keep the shaft stationary throughout hands-on work.
3. Arrange lighting and safe access.
4. Photograph the assembly.
5. Obtain the gland and packing instructions.
6. Plan a supervised leak check immediately after relaunch.
Prepare:
- Two correctly fitting stuffing box wrenches.
- A packing extractor.
- Calipers.
- A sharp cutting blade and separate cutting surface.
- A smooth mandrel matching the shaft diameter.
- A blunt packing-seating tool.
- Correctly specified marine packing.
- A suitable temperature instrument.
Use two wrenches so the locking and adjusting nuts can be controlled independently. Avoid twisting the stuffing box hose or loading the shaft log while freeing seized hardware.
Packing size means the square cross-section of the braid, not the shaft diameter.
The required size depends on the clearance between the shaft and the packing chamber. Consequently, a shaft-diameter chart is only a starting reference—not a substitute for identifying the actual gland.
Use this sequence:
1. Identify the stuffing box manufacturer and model.
2. Check the specified packing cross-section.
3. Measure the shaft and accessible packing chamber.
4. Compare removed packing with the specification.
5. Confirm the required ring count and thread engagement.
Old packing may be compressed or distorted. Likewise, ring count varies with gland design. Do not force extra rings into a shallow nut simply because another installation uses more.
Traditional flax, PTFE-containing products, and synthetic braids have different installation and adjustment requirements.
Choose a product approved for your gland, shaft material, operating conditions, and shaft speed. Graphite-containing packing warrants particular compatibility checks: specialist guidance identifies potential galvanic concerns with certain shaft materials. "Premium" does not automatically mean appropriate for every assembly.
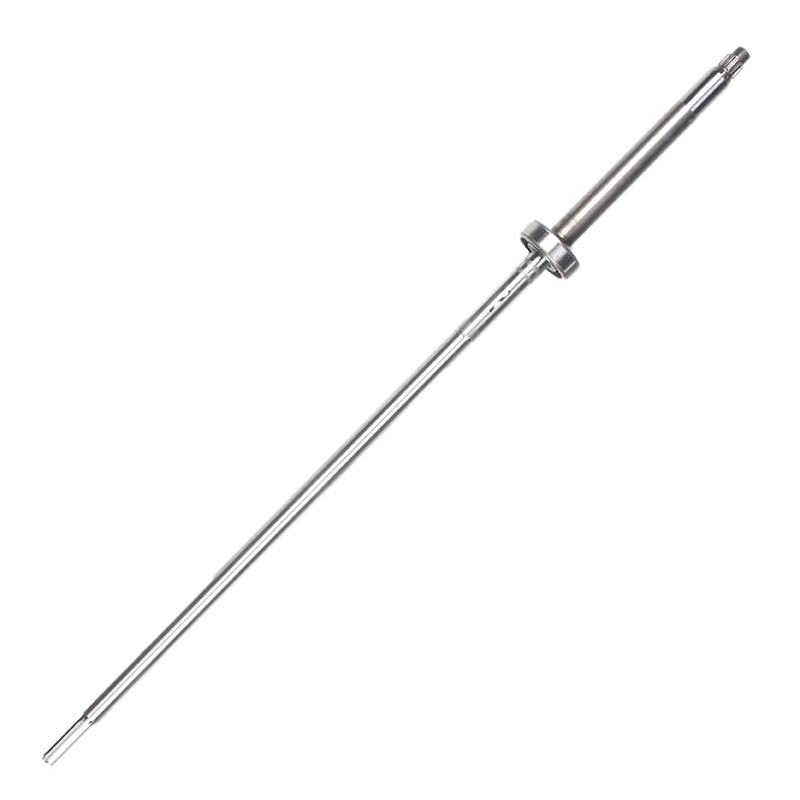
With the engine secured against starting, hold the packing nut with one wrench and release the locknut with the other.
If the hardware is seized, stop before damaging the nut, hose, or gland. Gaining controlled access is more important than finishing quickly.
Back the packing nut away from the threaded body and slide it along the stationary shaft far enough to access the packing chamber.
Inspect the hose and clamps while they are visible. Cracked hose, corrosion, or clamps positioned beyond their supporting fittings require attention independently of the packing.
Extract each ring carefully. Work against the packing, not against the shaft surface.
Remove all old material. Leaving a hidden ring behind reduces available space and can cause uneven compression. Count the removed rings, but verify the correct replacement count against the gland design.
Clean the exposed area and examine it for:
- Circumferential grooves.
- Pitting.
- Roughness.
- Evidence of overheating.
- Uneven wear.
A damaged sealing track may continue leaking despite fresh packing. Do not compensate by tightening harder. Have a marine shaft specialist assess whether repair, replacement, or an approved change in sealing position is appropriate.
Wrap the new braid around a smooth mandrel matching the shaft diameter.
Cut separate rings using the packing manufacturer's specified joint geometry. Each ring should close neatly without an open gap, bunching, or doubled-over ends.
Avoid cutting directly against the shaft's sealing surface. A blade mark or raised burr can damage the replacement packing.
Install one ring at a time. Seat it evenly with a suitable blunt tool before adding the next.
Distribute the joints around the circumference. For a three-ring assembly, approximately 120-degree spacing keeps the joints separated. Follow the gland instructions if they specify another arrangement.
Do not wind the braid into one continuous spiral. Properly fitted individual rings allow controlled seating and joint positioning.
Start the packing nut carefully by hand. Confirm adequate thread engagement and avoid cross-threading.
Apply only the initial compression specified for the assembly. The final setting must be established after relaunch, with water available and the packing allowed to settle. Heavy tightening at this stage risks overheating later.
Check for water entry immediately after launch.
Arrange a controlled running test with competent supervision. Observe leakage and temperature from a safe position; keep hands, clothing, tools, and instrument leads away from rotating equipment.
Stop the engine and ensure the shaft has stopped before making adjustments. Adjust incrementally, restart for observation, and repeat as necessary. Finally, secure the locknut while holding the packing nut so its setting does not change.
There is no reliable universal instruction such as "tighten one full turn."
The correct setting depends on the packing, gland, shaft condition, and operating conditions. Published recommendations also differ: West Marine describes two to three drops per minute, while Marine How To discusses different rates for different packing materials and emphasizes temperature alongside leakage.
Treat a generic drip count as background guidance, not a specification for your boat.
A satisfactory result combines:
- Leakage consistent with the product instructions.
- Stable temperature during representative operation.
- No burning smell or visible distress.
- Secure hardware.
- Acceptable leakage after shutdown.
Do not tighten repeatedly to eliminate every stationary drip if doing so makes the gland overheat underway. The running condition matters.
Create a simple service record:
| Item | What to record |
|---|---|
| Packing | Manufacturer, product, cross-section |
| Installation | Ring count and service date |
| Shaft | Diameter and visible condition |
| Running test | Operating condition, leakage, temperature |
| Follow-up | Adjustments and subsequent observations |
This is a practical documentation method, not a universal inspection standard. Its value is comparison: future changes become easier to distinguish from normal behavior.
If fresh packing leaks mainly when running, investigate the surrounding drivetrain.
A worn shaft bearing can permit movement that prevents consistent sealing. Vibration and persistent leakage therefore justify bearing and alignment assessment rather than another round of tightening.
The useful question is not only "Is the packing worn?" It is also "Is the shaft remaining properly supported where the packing contacts it?"
An initially cool gland does not prove that the final adjustment is correct.
Marine How To documents temperature changes associated with restricted cooling and trapped air. Recheck during representative operation and after the packing's specified settling period. Follow the product's break-in instructions rather than assuming every material behaves alike.
| Symptom | Possible cause | Recommended response |
|---|---|---|
| Excessive heat | Overcompression or inadequate cooling | Stop and investigate |
| Leakage despite tightening | Worn packing, wrong size, damaged shaft | Inspect instead of forcing the nut |
| Leakage mainly underway | Shaft movement or bearing wear | Assess the drivetrain |
| Poor thread engagement | Incorrect ring count or seating | Recheck the installation |
| Nut changes position | Locknut inadequately secured | Correct the locking arrangement |
These are diagnostic starting points, not definitive fault identifications. More than one defect may be present.
From a component-selection perspective, the sealing surface deserves the same attention as overall shaft dimensions.
When requesting a replacement assessment, prepare the shaft drawing, material specification, sealing diameter, bearing locations, coupling details, photographs, and relevant part numbers. Do not assume two shafts are interchangeable because their overall lengths match.
Ningbo Gill Transmission Parts Co., LTD. specializes in outboard gears, crankshafts, drive shafts, and propeller shafts. If inspection reveals shaft damage, send our team your drawings, application details, and photographs for a product-fit discussion. Confirm the specific application and available manufacturing scope before ordering.
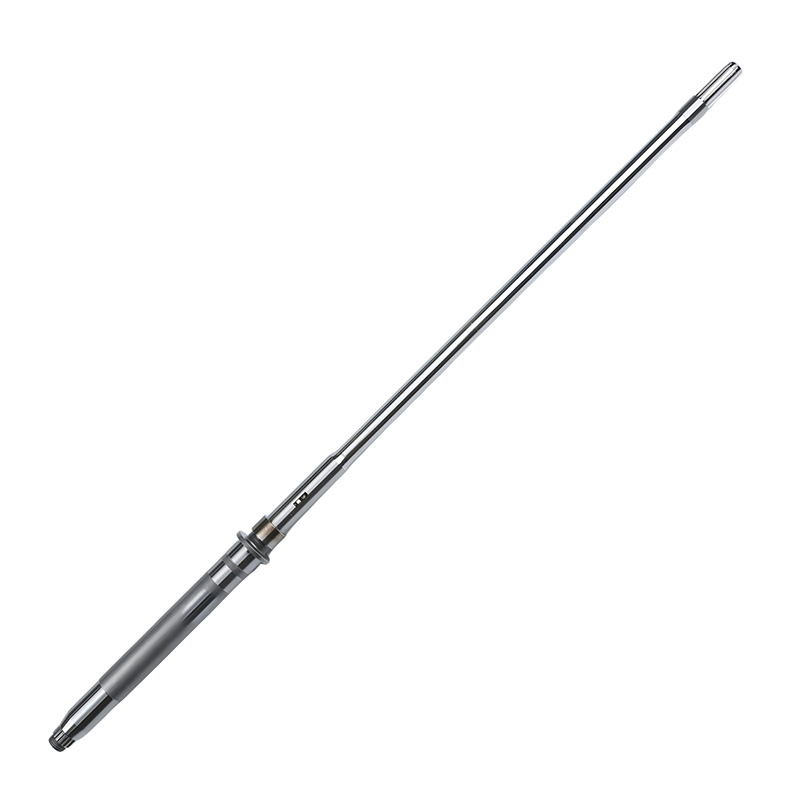
Often, yes. Conventional stuffing box packing can usually be accessed by moving the nut along the installed shaft. Limited clearance or damaged components may require additional disassembly.
Experienced professionals sometimes do, but water can enter when the packing is removed. For first-time work, a haul-out is the safer approach.
Traditional packing generally needs controlled leakage while running. Use the product instructions and monitor temperature rather than pursuing a completely dry gland.
Use the gland's specified number. Chamber depth and required thread engagement vary; neither three nor four rings is correct for every installation.
Possible causes include incorrect packing size, incomplete removal of old material, poor joints, shaft wear, or bearing-related movement. Diagnose the cause before increasing compression.
Follow the equipment instructions and inspect its condition regularly. Leakage behavior, remaining adjustment, packing deterioration, and shaft condition are more useful than an unsupported universal replacement interval.
- Marine How To, "Re-Packing A Traditional Stuffing Box." Detailed illustrated guidance on extraction, shaft inspection, ring cutting, joint staggering, initial adjustment, temperature monitoring, and material compatibility. [marinehowto]
- Brian Gordon, West Marine, "Stuffing Boxes, Shaft Seals and Shaft Bearings," updated June 30, 2026. Supporting guidance on stuffing box operation, replacement symptoms, packing installation, and bearing-related leakage. [westmarine]


