


close
Choose Your Site
Global
Social Media
Views: 237 Author: Gill Transmission Parts Publish Time: 2026-10-28 Origin: Site


Content Menu
● Identify Your Chrysler 60HP Outboard Steering System
>> Record Engine and Steering Identification
>> Recognize the Installed Steering Arrangement
● Diagnose the Fault Before Replacing Steering Parts
>> Use a Symptom-to-Inspection Checklist
>> Separate Cable Resistance From Engine Resistance
● Select Compatible Chrysler Outboard Steering Replacement Parts
>> Verify These Compatibility Details
>> Why Fit Alone Does Not Prove Suitability
● Prepare Tools, Documentation, and a Safe Work Area
● How to Replace Steering Parts on a Chrysler 60HP Outboard: Step by Step
>> Step 1: Document the Existing Installation
>> Step 2: Disconnect the Engine Linkage
>> Step 3: Remove the Steering Cable
>> Step 4: Inspect the Support Tube and Mounting Structure
>> Step 5: Install the Replacement Cable
>> Step 6: Reconnect the Steering Linkage
>> Step 7: Check Travel and Clearance
● Two Expert Checks That Prevent Repeat Repairs
>> Check 1: Trace Lost Motion Through the Entire System
>> Check 2: Inspect Geometry, Not Just Fastener Tightness
● Test the Repair Before Normal Operation
● Where Ningbo Gill Transmission Parts Can Help
>> Can I use a universal steering cable on a Chrysler 60HP outboard?
>> Should I replace the cable if steering becomes stiff?
>> Can I lubricate a steering cable instead of replacing it?
>> What torque should I use for the steering-link fasteners?
>> Can I reuse old steering-link nuts and bolts?
>> Are Chrysler and Force steering parts interchangeable?
Learning how to replace steering parts on a Chrysler 60HP outboard starts with identifying the engine and its steering system—not ordering a cable based on horsepower alone. The correct repair depends on the engine model, the helm at the dashboard, the cable connection, and the hardware linking the steering mechanism to the motor.
At Ningbo Gill Transmission Parts Co., LTD., our 29 years of experience in marine-component research, manufacturing, and sales shape our approach: confirm compatibility, identify the actual fault, and inspect every connection before returning equipment to service.
This guide focuses on mechanical remote steering. It does not provide model-specific instructions for hydraulic systems, tiller conversions, or every vintage Chrysler installation. Safety comes first: missing specifications, seized components, damaged brackets, or uncertain compatibility require a qualified marine technician.
Older boats may have replacement engines, modified brackets, or steering equipment installed long after the hull was built. Consequently, the boat's age and the engine's horsepower cannot establish steering-part compatibility.
Before dismantling anything, collect:
- Engine model and serial numbers.
- Photographs of the engine identification plate.
- Helm manufacturer and model.
- Steering-cable markings and length designation.
- Photographs of the engine connection and mounting brackets.
- Existing part numbers and previous modification details.
Locate the appropriate Chrysler service information and the installation instructions for the actual steering equipment. If an online catalog does not list your engine, that does not establish that another horsepower model uses interchangeable parts.
A mechanical remote-steering installation may use a cable output ram passing through an engine support tube. Another arrangement may use a separate boat-mounted support and connection kit.
Some older boats have other steering designs entirely.
Do not assume your Chrysler 60HP accepts a modern through-tube cable simply because a replacement assembly looks similar. The support arrangement, connection geometry, and manufacturer-approved application must agree.
Also distinguish the steering cable from throttle and shift cables. They perform different functions and are not interchangeable.
Heavy steering does not automatically mean the cable has failed. Resistance can originate in the helm, cable, support tube, engine swivel, or linkage.
A useful diagnostic principle is to isolate the steering system from the engine's pivoting movement.
| Symptom | Areas to inspect | Decision point |
|---|---|---|
| Heavy steering throughout travel | Cable, helm, routing, engine pivot | Isolate components before ordering |
| Wheel movement before engine response | Linkage, mounting hardware, helm | Locate where movement is lost |
| Binding near one steering limit | Routing, connection geometry, interference | Correct interference before testing |
| Cracked cable jacket or exposed reinforcement | Cable assembly | Replace; do not patch |
| Corroded or distorted connection hardware | Link rod, fasteners, brackets | Replace with specified components |
| Engine remains difficult to pivot after disconnection | Swivel assembly or mounting structure | Service the engine-side fault |
This table guides inspection; it does not establish a diagnosis by itself.
With the engine secured, ignition disabled, and the boat safely supported, disconnect the steering linkage only as the applicable instructions permit.
Then assess two movements separately:
1. Does the steering wheel move the disconnected cable smoothly?
2. Does the engine pivot smoothly without the cable attached?
Keep fingers clear of moving joints and stops. Support disconnected components rather than letting them hang.
If the cable remains stiff when isolated, replacement may be necessary. If the engine remains stiff, replacing the cable alone will not solve the problem. Avoid forcing either assembly.
The correct replacement is not necessarily the part with the closest dimensions.
Confirm the complete relationship between the helm, cable, support, engine connection kit, and fasteners.
- Cable family approved for the installed helm.
- Correct cable length under the manufacturer's measuring method.
- Approved engine connection kit.
- Suitable mounting arrangement and available clearance.
- Correct linkage geometry and required steering travel.
- Specified bolts, washers, locking nuts, and retainers.
Do not apply one universal cable-length formula to every system. Follow the cable manufacturer's instructions, especially when the existing routing is being changed.
Do not downgrade a dual-cable installation to a single cable without an approved system redesign.
From a marine-component manufacturing perspective, an assembly can fit physically and still be unsuitable.
A replacement bolt may have the correct thread but the wrong shoulder length. A link rod may connect at both ends yet bind as the engine turns or tilts.
Corrosion resistance also does not establish mechanical equivalence. Avoid selecting generic hardware solely because it is stainless steel.
For steering connections, use the specified component or a documented, approved replacement.
Gather the tools required by the actual installation:
- Correct sockets and spanners.
- A torque wrench suitable for the specified values.
- Manufacturer-approved replacement hardware.
- Cleaning materials and specified marine grease.
- Labels, a camera, and containers for removed parts.
- Engine and steering-system instructions.
Secure the boat against movement. Remove the ignition key, disable starting, and isolate electrical power where required by the equipment instructions.
Support the engine independently if work could disturb its mounting or support.
Photograph the original hardware stack before removal. However, do not assume an existing arrangement is correct simply because it has remained in place for years.
The following sequence is a planning framework. Exact disassembly methods, fastener order, torque values, and locking arrangements must come from the instructions for your identified equipment.
Photograph the helm connection, cable route, support brackets, engine linkage, washers, and retainers.
Record where the cable passes through bulkheads and where it is supported.
Look for rubbing, sharp bends, crushed sections, or makeshift brackets. Copying a defective route can recreate the original problem with a new cable.
Release the cable-to-engine connection using the specified procedure.
Retain removed parts for identification, but install new locking hardware wherever required. Do not substitute ordinary nuts for specified self-locking hardware.
Inspect the connection holes, rod ends, and fasteners. Elongated holes, substantial corrosion, cracking, or distortion require further evaluation rather than simple reassembly.
Disconnect the cable from its engine support and helm according to the relevant instructions.
Quick-connect, threaded, rotary, and rack arrangements do not share one release procedure. Do not pry apart or dismantle a sealed helm to release a cable.
Withdraw the assembly without bending the output ram or using it as a lever.
If there is insufficient clearance, stop. Moving or removing the engine requires suitable lifting equipment and professional support; forcing the cable is not an acceptable shortcut.
Where fitted, inspect the support tube for contamination, corrosion, and damage.
Clean serviceable surfaces using the approved method. Do not aggressively grind or enlarge the bore to make a cable fit.
Inspect the surrounding brackets and engine swivel assembly as well. A new cable cannot compensate for a damaged support or a seized pivot.
Follow the replacement cable's installation instructions.
Maintain the required bend radius and protect the cable from sharp edges, hot surfaces, and moving equipment. Support it without crushing the jacket or restricting movement.
Lubrication requires particular care. Some mechanical systems arrive internally lubricated and prohibit adding lubricant to the helm or cable assembly, while separately requiring marine grease on the exposed output ram.
Do not inject oil into the cable jacket unless the manufacturer explicitly permits it.
Install the approved connection kit and hardware in the specified order.
Use the stated torque values. There is no reliable universal torque setting for every Chrysler 60HP steering installation.
Confirm that locking features engage correctly and that articulated joints remain free to move as designed.
Do not bend the link rod, add improvised spacers, or drill another steering-arm hole to compensate for incompatible geometry.
With starting still disabled, move the steering slowly through its available range.
Check that:
- Steering movement corresponds correctly with engine direction.
- Cable connections remain securely retained.
- The linkage does not bind or pass through an unstable position.
- The cable does not pull tight or rub against sharp edges.
- Engine movement does not strain fuel lines, wiring, or control cables.
- Clearance remains adequate through the permitted tilt range.
Do not force the wheel against an obstruction. Investigate the cause before proceeding.
Instead of judging steering play only at the wheel, inspect each connection while an assistant gently moves the wheel.
Observe the helm mounting, cable attachment, support bracket, linkage, and engine steering arm.
The objective is to locate where movement stops transferring immediately to the next component. This helps distinguish loose mounting hardware from worn linkage or internal helm problems.
Do not invent an acceptable free-play limit. Compare findings with the equipment manufacturer's guidance.
A linkage can be tight and still be incorrectly installed.
Watch the connection through the full steering and permitted tilt range. Look for rod-end binding, contact with adjacent components, or movement that loads a bracket sideways.
This check matters especially on older boats with undocumented conversions. Correct geometry is part of compatibility—not an adjustment to improvise after installation.
Begin with a complete dockside inspection. Verify hardware retention, unrestricted travel, mounting security, and correct steering direction.
If any connection method or specification remains uncertain, obtain professional inspection before launching.
For the initial water test:
1. Choose sheltered water with minimal traffic.
2. Wear a personal flotation device.
3. Attach the engine-stop lanyard if fitted.
4. Begin at idle and make gentle turns.
5. Increase speed only after predictable control is established.
6. Stop immediately if steering binds, slips, or behaves unexpectedly.
Reinspect the system after the initial operating period and at the intervals specified by its manufacturer. Successful movement on the trailer does not establish satisfactory performance under operating loads.
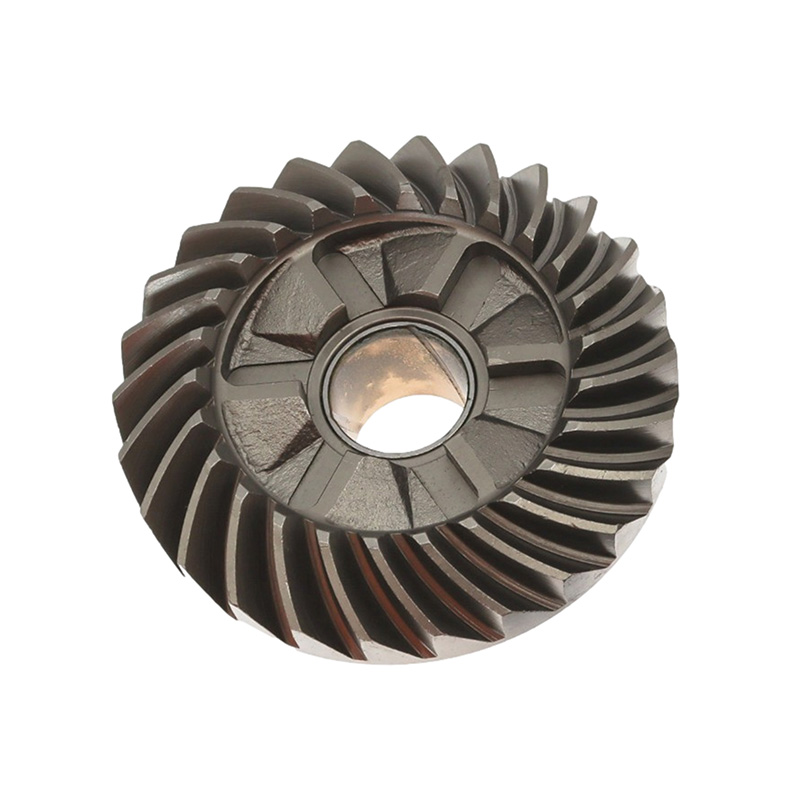
Ningbo Gill Transmission Parts Co., LTD. specializes in the development, manufacturing, and sales of outboard gears, crankshafts, drive shafts, propeller shafts, and related marine components.
These drivetrain parts are distinct from steering cables and linkage. Our manufacturing background should not be interpreted as proof that we supply or approve a particular Chrysler steering kit.
For a related drivetrain sourcing inquiry, send our team your engine identification, original part number, component photographs, and available drawings or measurements. Request a compatibility review before ordering. For steering-system selection and installation approval, consult the steering manufacturer or a qualified marine service provider.
Only when its manufacturer confirms compatibility with the helm, mounting arrangement, and engine connection kit. "Universal" does not mean compatible with every vintage installation.
First isolate cable resistance from engine-pivot resistance. A stiff cable requires replacement under the applicable manufacturer's guidance, but a binding engine swivel needs separate attention.
Do not treat lubrication as a repair for a damaged or internally stiff cable. Follow the manufacturer's distinction between permitted output-ram lubrication and prohibited internal cable lubrication.
Use the specification for the exact connection kit and engine arrangement. Horsepower alone does not provide a safe torque value.
Follow the installation instructions. Replace required locking hardware and any damaged or corroded components. Do not substitute generic hardware based only on appearance.
Not automatically. Verify original part numbers, engine identification, connection geometry, and documented application before treating any components as interchangeable.
- SeaStar Solutions. *HPS Rotary Helm SH5180: Installation Instructions and Owner's Manual*, Part IS-SH5180, Revision 1, July 2013, pp. 2–5. Manufacturer guidance on compatibility, routing, lubrication, retention, inspection, and replacement. This manual is an example of system-specific requirements, not confirmation that SH5180 equipment suits a Chrysler 60HP. [marineengine]
- MarineEngine.com. *Find Chrysler Outboard Motor Parts by Engine Model*. Supports identification-based parts lookup. Its displayed model list is not a complete compatibility determination for the engine discussed here. [marineengine]
- Pro Marine USA. *Chrysler Force Outboard Parts*. Supports checking horsepower, model, production year, and original part numbers before purchasing replacements. [parts.promarineusa]


